Your basket is empty
Already have an account? Log in to check out faster.
Your basket
Your basket is empty
Already have an account? Log in to check out faster.

Are you ready to rise up to become the next bread baking pro? If you’re a fan of all things bread and toasty, this beginner’s guide is the perfect way for you to pick up everything you need to know about baking your own sourdough bread. It is a staple for many bread lovers around the world, gaining popularity over the years due to its unique flavour profile and nutritional benefits.
Whether you’re a seasoned baker or a dough-novice who wants to learn more about making a loaf of sourdough bread, we’ve got a bunch of tips and tricks up our sleeves to help you get started on your breadventure!
Learn More: 5 Benefits of Baking—Why You Should Start Baking Too

The foundation to all good sourdough breads is the starter, which is a natural leavening agent made of a mixture of flour and water that’s been left out to ferment naturally. This form of fermentation does not utilise commercial yeast. Instead, it uses wild yeast and lactic acid bacteria naturally present in flour to rise. It is one of the oldest bread fermentation methods believed to have originated in ancient Egypt. This natural fermentation process gives the bread its distinctive tangy flavour, chewy texture, and airy interior, as well as makes it a good bread choice for those with sensitive stomachs.
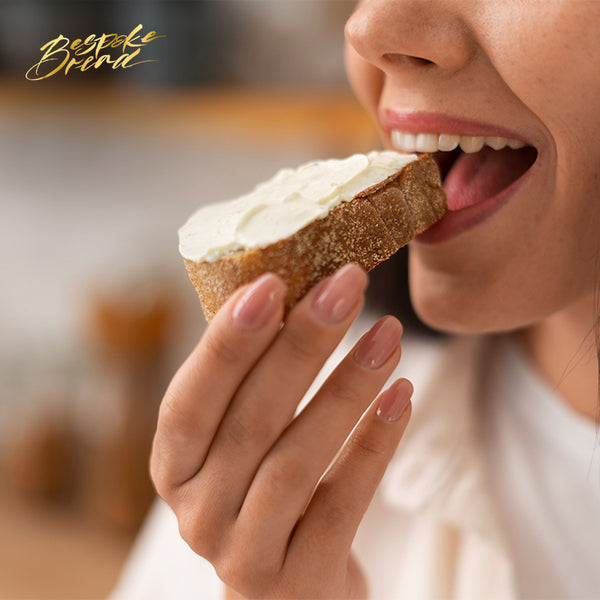
When it comes to bread, there are countless options to choose from—baguettes, ciabatta, focaccia, and more. And sourdough is one that has been capturing hearts and stomachs around the world. From its flavour to its health benefits, there’s just something about sourdough bread that keeps people coming back for more. But what is it about this bread that makes it so beloved?
A. Making Sourdough Bread is a lot of Fun
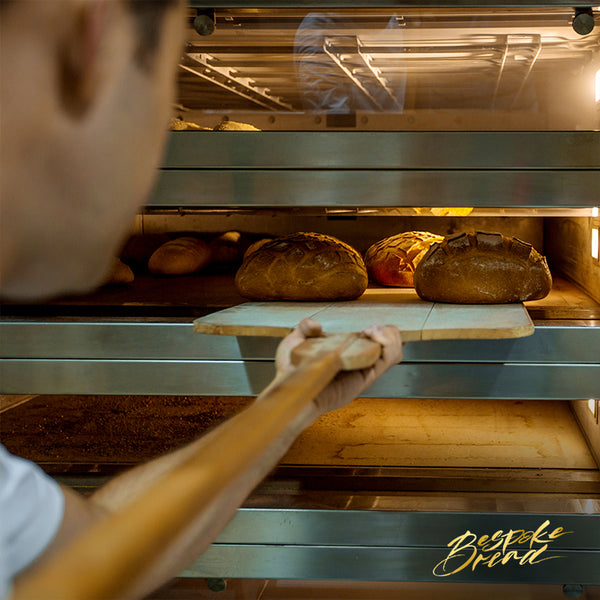
Making sourdough bread is a doughlightful way to spend your time, especially if you love all things bread. Not only is the process incredibly fun, the outcome is extremely rewarding too.
From making your own starter to shaping and baking your sourdough bread, you can play around with different ingredients, ratios, and techniques to create your unique masterpiece; add herbs, spices, nuts, seeds, and even fruits to produce special flavours and textures, and shape it into loaves, rolls, or even buns. It’s like playing with edible playdough, but better.
But that’s not all. There’s also something deeply satisfying about mixing your own starter, making your sourdough and fermenting it; watching your starter and your dough rise feels as though you’re nurturing a living thing, a child of your own. And when it finally emerges from the oven, all golden and crusty, you’ll feel a surge of pride knowing you baked this bread from scratch.
B. Sourdough Bread is Very Nutritious
Thanks to the power of fermentation, not only is sourdough bread delicious and tangy, it’s also easier on the gut. You see, sourdough bread is made using a starter that’s been allowed to ferment naturally, which breaks down complex carbohydrates and gluten while producing good bacteria. This makes them easier for your body to digest, better for gluten-sensitivities, improves your gut health and digestion, as well as lowers yeast content to reduce the risk of infection. Sourdough bread also has a lower glycemic index, which means that it won’t cause blood sugar to spike upon consumption.
Additionally, sourdough bread contains acetic acid, produced naturally during fermentation. This prevents the growth of mould, which means that little to no toxic preservatives are used when making them.
You’d think that that’s the end of sourdough bread’s nutritional benefits, but nope! Sourdough also contains a variety of vitamins and minerals that are beneficial to your overall health. These nutrients include vitamin B1-B6, vitamin B12, vitamin E, iron, manganese, calcium, folate, zinc, and potassium, among others.
C. Sourdough Bread is Delicious
Because of the way sourdough is made, it has a distinctive flavour that makes it stand out from many other breads; it isn’t just a plain, dry bread, but one with a hint of tanginess, crispiness, and even soft, fluffiness in every bite. That’s why it’s such a breadlicious treat loved by many. Besides, sourdough bread can be used in all sorts of dishes. From sandwiches and French toast to croutons and bread pudding, the possibilities are endless.
D. Sourdough Bread is Photogenic
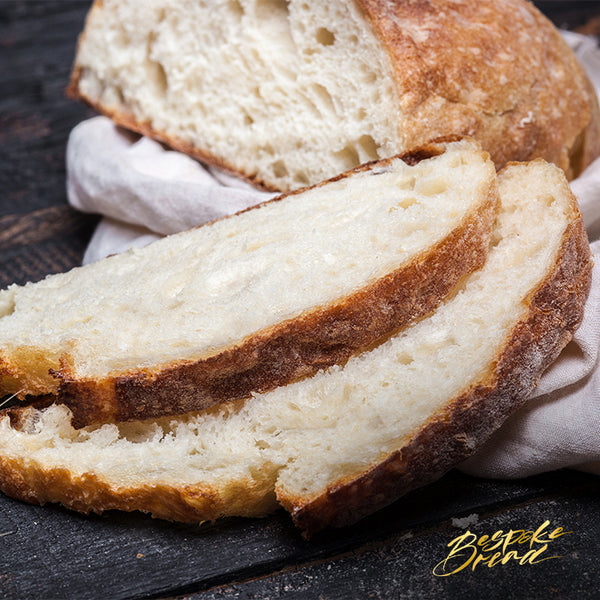
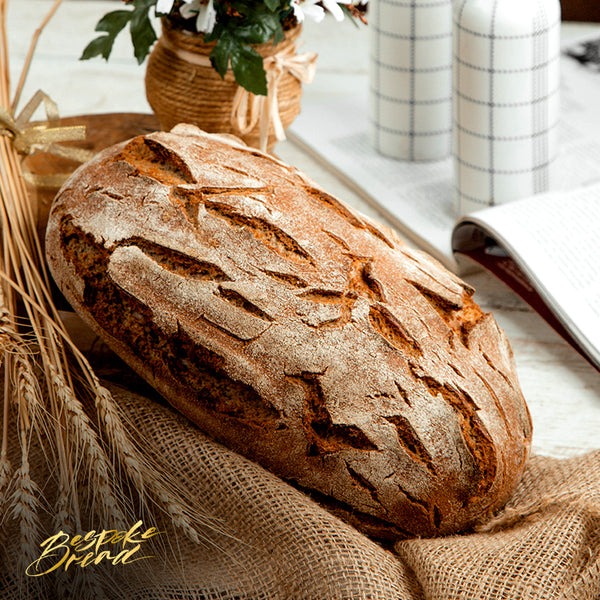
Apart from its nutritional value and amazing taste, sourdough bread’s golden crust and airy crumb is also the perfect subject for a photo shoot. No two sourdough bread loaves are the same; they each possess their own imperfections, shape, textures, and holey cross-section, and they look great on camera.
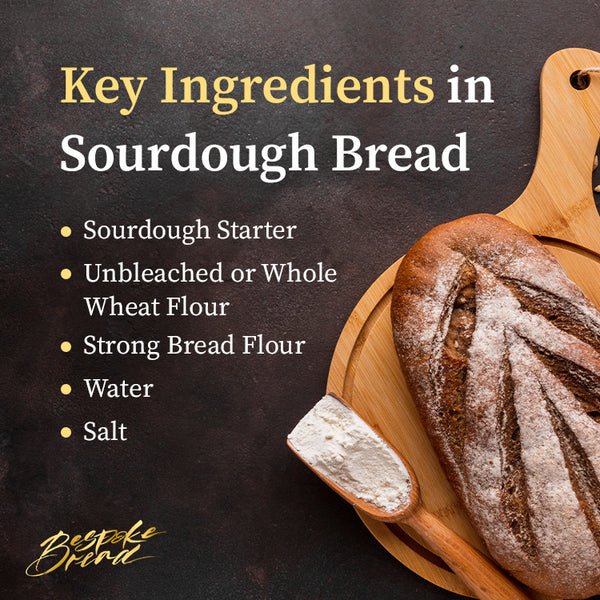
If you’ve been paying attention, you’ll know that the key to making a great sourdough bread is a well nurtured starter. The ingredients you need are simple, but to make a good starter requires meticulousness and the right ratios. You’ll need flour—preferably unbleached or whole wheat, as they usually contain more wild yeast for natural fermentation, and drinkable tap water. If there’s not drinkable tap water, use bottled or filtered water). We recommend getting the Nippn Murasaki Botan, it is a premium bread flour from Japan that is incredible at absorbing water, easy to handle, and great for moist, fluffy breads.
Once you have your starter, you’ll need to prepare many other ingredients to make your sourdough bread.
Firstly, you need flour. It is the backbone of bread making, and sourdough bread is no exception. For the best flavour and texture, use high-quality strong bread flour. Alternatively, whole wheat and wholemeal flour works too.
Next, you’ll need water. It is an essential ingredient as it hydrates the flour, binds ingredients together, and activates the yeast and bacteria in the starter.
Then, you’ll need salt. Salt is not just a seasoning for your bread, it also plays a crucial role in slowing down the growth of bacteria and tightening the gluten.
Last but not yeast, you can also add other ingredients, such as nuts, dried fruits, or chocolate chips, to your sourdough bread to give it some extra flavour and texture.
A. Making A Starter

The easiest way to make a starter is to begin your process with unused starter mixture, known as starter discard. You can choose to purchase a starter, or receive a fresh starter when you participate in a sourdough baking class with Bespoke Bread.
With a mature starter, you can slowly feed it by adding 50g of unbleached flour and 50g of water daily. Then, leave it loosely covered at room temperature to ferment and increase in volume. Repeat this process, discarding part of your starter (leaving behind 50g) every day until the seventh day. Your starter should be ready.
Learn More: How to Make Your Own Sourdough Starter
B. Making the Sourdough Bread
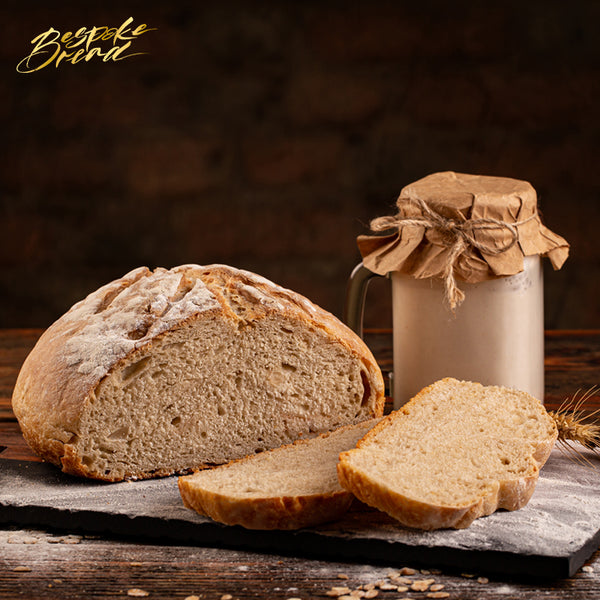
Ingredients You’ll Need:
Step 1: Gently mix the flour, water, and starter together. Cover and allow the mixture to rest and hydrate for 20 minutes before thoroughly mixing and incorporating all the flour, water, and starter.
Step 2: Scatter the salt over the dough and gently dimple mix to dissolve and incorporate the salt.
Step 3: Remove the dough from the bowl and knead it using the slap and fold technique. This strengthens the dough. Repeat until the dough folds into a tight package. Take note not to tighten it until it tears.
Step 4: Place the dough into a bowl and cover to allow it to rise and grow.
Step 5: Once your dough is ready, place it on a clean work surface and gently pinch and pull the dough outwards from its sides until it forms a rectangular shape.
Step 6: Spread the nuts, dried fruits, or other toppings you’d like to have over the dough. Then, fold in the four sides to cover the ingredients before tightening the dough with a bench fold kneading technique. Cover the dough and allow it to rise more.
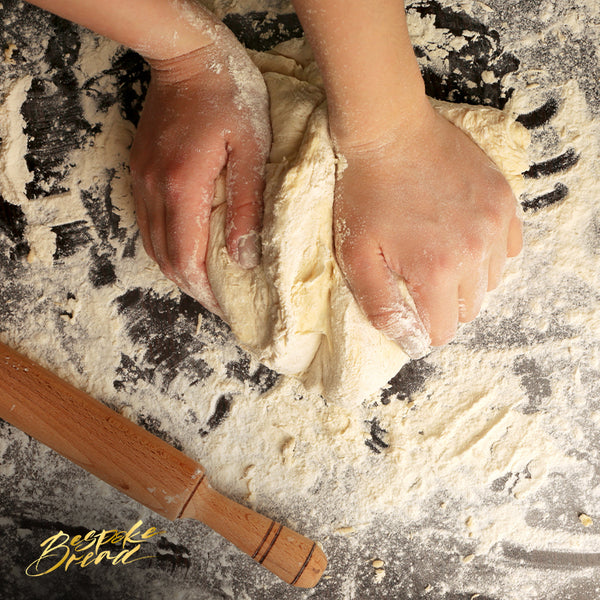
Step 7: Place your dough on a clean work surface. Fold and shape the dough into a smooth, tight, oval shape. Then, place it into a refrigerator for a few hours to slow down fermentation. This step is known as cold retard.
Step 8: Score your dough to guide loaf expansion and to decorate your dough.
Step 9: Bake your sourdough bread in a preheated oven at 250℃ for 20 minutes with a vessel to trap steam. Then, remove the vessel cover and continue to bake at 230℃ for 20 minutes or until desired colour.
Learn More: Sourdough Tips | How to Store Your Bread
Want to master the art of baking sourdough bread without failure? Even though you’re equipped with a recipe, there are certain do’s and don’ts to take note of if you want to successfully produce the perfect sourdough bread. Let us steer you to success with this list of do’s and don’ts!
Making a healthy and active starter is crucial to scoring full marks on that perfectly tangy, crusty, and chewy sourdough loaf. It’s the foundation of your bread and the backbone and soul of your dough.
The key to a healthy starter is to let it ferment and mature over time. A good and strong starter should also be fed regularly, nurtured, and cared for, like a baby. You’ll be able to tell an active and healthy starter from a bad one from its smell and appearance. A good one should have a pleasant, slightly sour smell, and look bubbly.
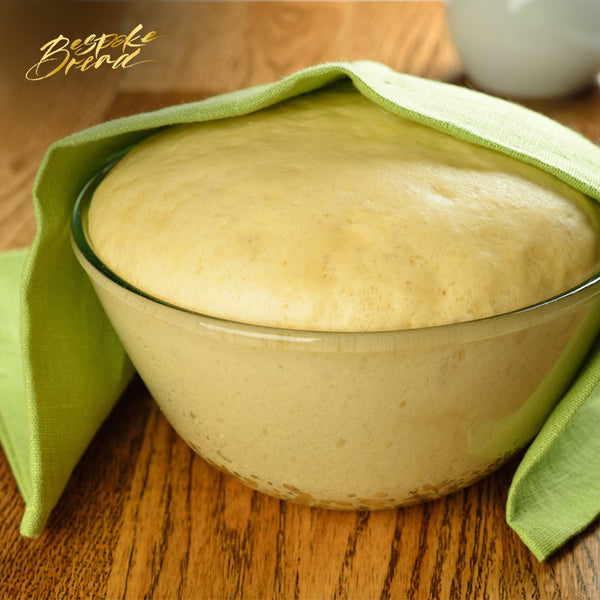
Autolysing is like a warm-up for your dough; it allows the flour and water to get to know each other and form strong bonds, and usually happens at the start of any baking process. When you mix flour and water together, gluten starts to develop, which can make your dough tough and difficult to work with. But by autolysing your dough, you’re giving the gluten a chance to hydrate and relax before you move on to the next steps.
Autolysing can improve the texture and flavour of your bread. It gives the enzymes in the flour time to break down the starches and sugars, which creates a more complex and flavourful bread.
All you have to do is mix your flour and water together and let it sit for 30 minutes to an hour before you add any other ingredients.
As they say, good things come to those who wait, and this couldn’t be more true when it comes to baking sourdough bread. You’ll be spending half your time waiting for your starter to grow or your dough to ferment and rise.
Sourdough bread takes time, effort, and a lot of tender loving care to get it just right. You can’t rush sourdough; from the moment you start mixing your ingredients to the final proofing, each step needs to be given the time it deserves in order to unlock the full flavour and texture potential of your bread.
But fear not. If you remain patient through the entire process, you’ll be on your way to making the perfect loaf of sourdough bread. The end result will be worth every minute of waiting and kneading.
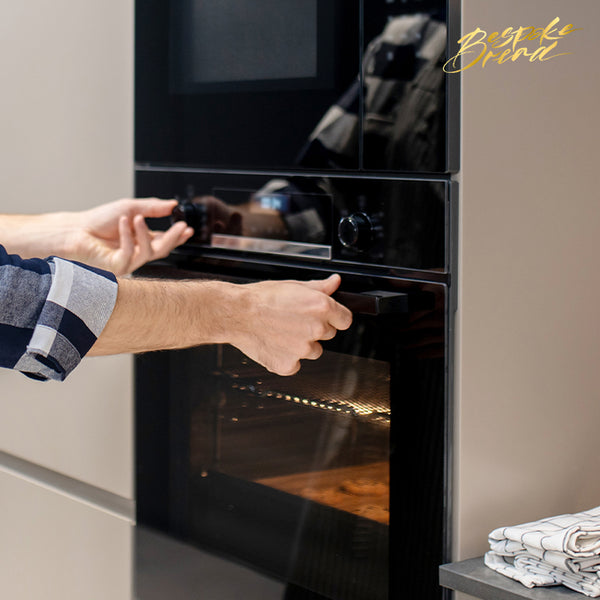
You might be thinking, “what’s the big deal? Why can’t I just pop my bread into the oven and let it heat up slowly?” Well, preheating the oven to the correct temperature makes a significant difference—it helps your bread rise and bake evenly, allowing your dough to spring up and form that beautiful crust, giving you the perfect loaf every time. Not preheating your oven can affect the flavour of your bakes and may even result in an undercooked bread.
Getting your hands doughty and folding your dough isn’t just some fancy technique to show off your baking skills. It’s a crucial step in doughveloping the gluten in your dough, which gives your sourdough bread its structure and texture. Each fold you make stretches and strengthens the gluten strands, which increases your bread elasticity and helps it to hold its shape.
Source: The Perfect Loaf
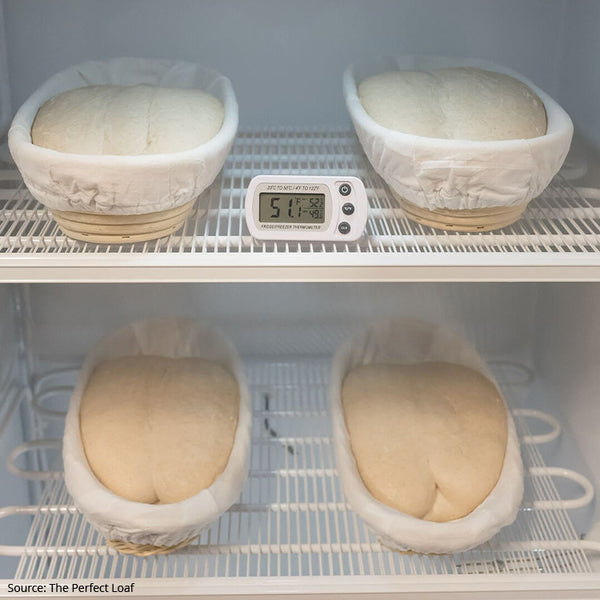
Doing cold retard is as good as giving your dough a spa day—it helps the dough relax and develop amazing flavours we love in sourdough bread. By doing cold retard, you’re slowing down the fermentation process, which allows the flavours to develop slowly and deeply. It also firms up your dough, making it easier to handle and shape.
But that’s not all, cold retarding also improves the texture of your bread. By giving your dough a long, slow rise, you’re allowing the gluten to fully develop, which helps your dough become more supple and able to handle the demands of baking.
Source: Seasoned Advice
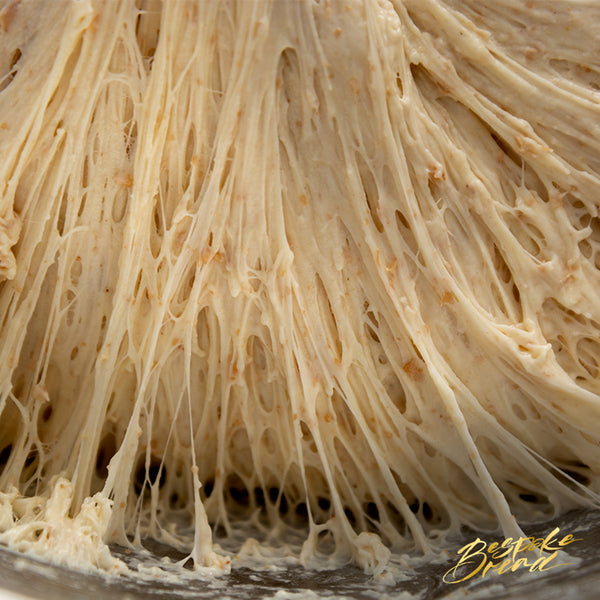
When it comes to baking sourdough bread, you need to treat your dough like it's a delicate flower. It’s important to strengthen and tighten it by folding and shaping the dough without causing tears in it. If tears happen, you may end up with a dense and chewy loaf, your bread may not have a strong structure to rise beautifully, and it won’t be as visually appealing—nobody wants a lumpy and bumpy loaf that looks like it’s been through a war.
Pockets of air in your dough create holes in your bread that are way too big, causing some serious aesthetic problems and ruining the cross-section appearance of your sourdough bread. When you’re shaping your dough, pay attention to the surface of your dough and pop any large air pockets you see before pinching the dough back together to keep the dough tight.
What exactly does it mean for a starter to peak? Well, it's when your starter is at its maximum activity level. Using a starter that hasn’t peaked will result in a dense and heavy bread that won’t rise properly.
So, how can you tell if your starter has peaked? The starter should have doubled or tripled in size, look bubbly, have a slight sour but pleasant smell, and a flat surface at the peak. It is important to use your starter at its peak because if you wait too long, it can start to lose its activity and won’t work as well.
Baking your sourdough bread too soon doesn’t allow your dough to rise properly, which means it won’t be as airy as it should be. This can lead to a flat, dense loaf that’s not very appetising. Plus, your bread will likely form a tough crust and an unpleasantly chewy texture.
Before sending your sourdough bread into the oven, you need to let it proof; it is the process of letting your dough rest and rise before baking, allowing the sourdough to develop its signature texture.
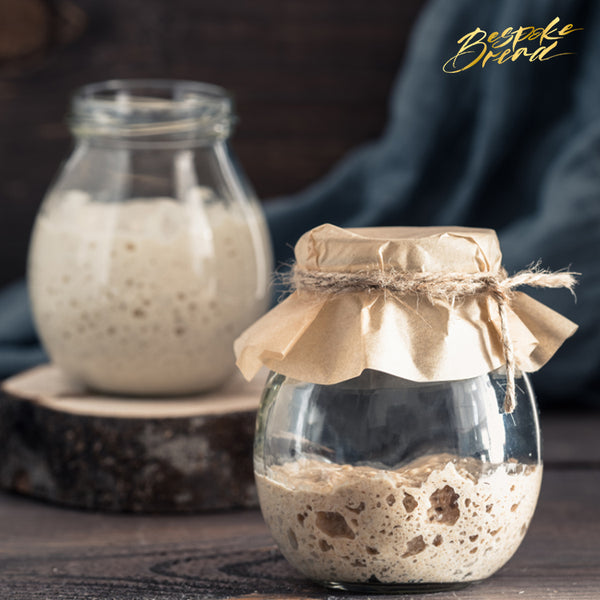
Once you’ve baked your sourdough bread, you’ll be left with a significant amount of starter sitting in the fridge. Don’t toss that away. With a little creativity, you can turn your discard into a delicious array of toasty treats that will have you saying “oh my dough!” Here are some things you can make with sourdough discards.
A. Sourdough Waffles

Ingredients You’ll Need:
Step 1: Mix the flour, discard, milk, and vinegar to create a sponge. Allow it to rise at room temperature for three to four hours.
Step 2: When the sponge has grown bubbly, add melted butter, egg, sugar, salt, baking soda, and vanilla essence. Mix well.
Step 3: Pour the batter into a waffle iron or non-stick pan for pancakes.
Step 4: Serve hot with your favourite fruits and syrup.
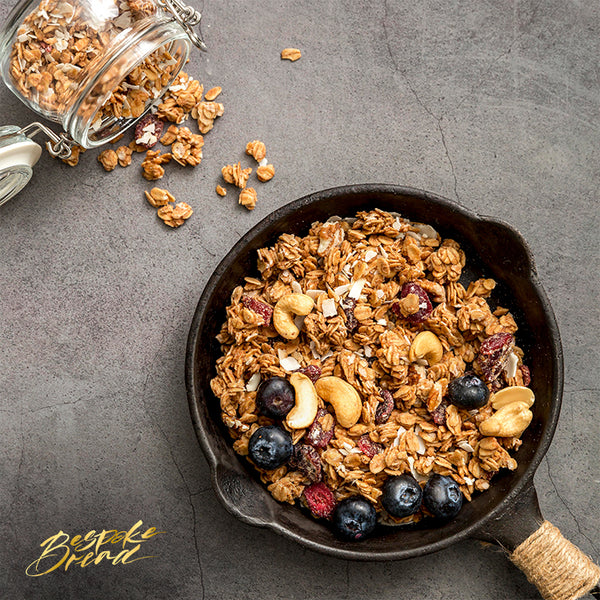
B. Granola Clusters
Ingredients You’ll Need:
Step 1: Preheat your oven to 160℃
Step 2: Mix together the sourdough starter/discard, honey, and coconut oil until well combined.
Step 3: Once the mixture is smooth, add the oats, nuts, and seeds. Stir until all the ingredients are well coated.
Step 4: Line the baking tray with baking paper. Then, press a layer of granola onto the tray. Making sure every ingredient is tightly pressed together.
Step 5: Bake the mixture slowly for around 20 minutes or until it is lightly toasted.
Step 6: Remove the pan from the oven to allow it to cool. Then, break the granola into pieces and store in a glass jar.
C. Sourdough Pizza

Ingredients You’ll Need:
Step 1: Mix flour and water until there are no dry bits of flour or lumps.
Step 2: Add the starter and incorporate gently.
Step 3: Sprinkle salt and dimple it into the dough. Then add in olive oil little by little and mix until the salt is dissolved and oil is incorporated.
Step 4: Transfer the dough into a greased container and allow it to rest for 30 minutes at 28 to 30℃. You may wish to place a small portion of dough in a small jar to gauge dough rise.
Step 5: Slap and fold the dough on a moist surface. Then, cover and rest for 30 minutes at 28 to 30℃.
Step 6: Bench fold the dough for another two to three times at 30 minute intervals. Cover and allow to rest at 28 to 30℃.
Step 7: Once the dough has completed bulk fermentation, cling wrap the container and refrigerate overnight for 8 to 12 hours at 4℃.
Step 8: Place the refrigerated dough on a moist surface and divide into three pieces of 290 grams. Keep the number of cuts to a minimum for better gluten structure.
Step 9: Tightly round each dough and place in an oiled tray or bowl.
Step 10: Cover and ferment for two to three hours at 28 to 30℃.
Step 11: Flour the dough on both sides. Then, press down gently and make a 1-inch edge for the pizza crust. Flour your knuckles and carefully stretch the centre of the dough outwards till about 12-inch size.
Step 12: Add your toppings and transfer to a well-floured peel. Make sure that it doesn’t stick to the peel. Slide it into an oven with a pizza stone or baking steel, preheated to 250℃, to bake. Bake for 5 to 10 minutes or till your desired crust colour.
Step 13: Serve hot.
D. Sourdough Brownies
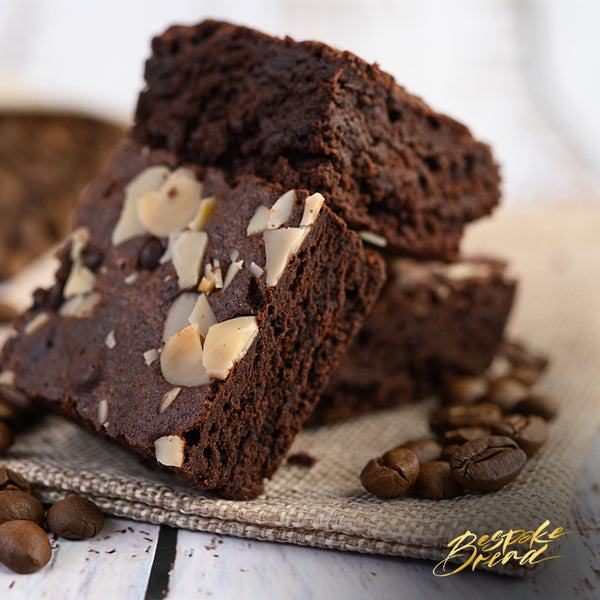
Ingredients You’ll Need:
Step 1: Preheat the oven to 176℃.
Step 2: In a small saucepan, melt the unsalted butter over low heat. Then, mix in the vanilla extract, chocolate chips, and cocoa powder until the mixture is smooth. Remove from heat and set aside to cool.
Step 3: Beat the eggs and sugar together in a large bowl. Then, pour in the starter/discard and chocolate mixture. Beat on low speed until ingredients are incorporated.
Step 4: Stir in the flour and salt with a spatula until well combined.
Step 5: Pour the brownie batter into a baking dish lined with parchment paper. Smooth the top and bake for 35 to 40 minutes.
Step 6: Remove from the baking dish, cut into squares and serve.
Not interested in the recipes above? Join our baking courses for beginners to learn how to bake babka, banana bread, and breadsticks with sourdough discard!
All bread lovers like you and me will know that there’s nothing quite like a warm, crusty loaf of sourdough bread. But while sourdough bread is delicious on its own, it’s even better when paired with the right foods.
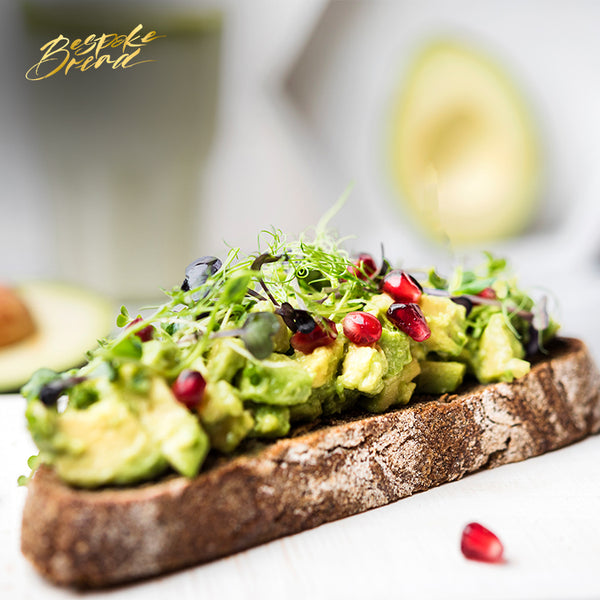
First up, we have avocado toast. The creamy texture of the avocado is the perfect match for the tangy flavour of the sourdough bread. Plus, you can add toppings like tomatoes, feta cheese, or even a poached egg to take your avocado toast to the next level.
If you're looking for something heartier, why not try a classic grilled cheese sandwich? But instead of using ordinary bread, opt for sourdough. The tanginess of the bread pairs perfectly with gooey melted cheese, making for the ultimate comfort food.
For a lighter option, you can never go wrong with a simple bruschetta. Just toast some sourdough bread, top it with fresh tomatoes, basil, garlic, and a drizzle of olive oil. It's a quick and easy snack that's bursting with flavour.

And let's not forget about the ultimate bread accompaniment: soup. Whether you're enjoying a bowl of tomato soup or a hearty stew, sourdough bread is the perfect sidekick. You can use it to sop up every last drop of broth or to make a sandwich to dunk in your soup.
There are numerous possibilities, and with the internet at your fingertips, finding recipes to complement your sourdough bread has never been easier.
1. Is sourdough a healthy bread?
Sourdough bread is one that’s packed with nutrients, such as healthy carbohydrates, protein, fibre, and good bacteria. It’s great for digestion and for your overall health.
2. What is the difference between sourdough and normal bread?
Sourdough bread is made with wild yeast naturally present in flour, whereas normal bread is made with commercial yeast.
3. Must I use a starter in order to make sourdough bread?
Sourdough starter is the key ingredient to baking sourdough bread. Without it, you won’t be able to make sourdough bread.
4. How do I tell if my starter is active?
Your starter should have grown in volume, at least double or triple, has a light scent that smells like yoghurt, is bubbly, and has a flat surface.
5. What is the simplest way to make sourdough bread?
There is no simple way to make sourdough bread as it requires lots of meticulousness and patience. Every step is equally important if you want to succeed in baking a good loaf.
Now that you’re given all the information you need to perfect your sourdough bread, it’s time to get baking! If kick-starting your sourdough breadventure alone is too daunting for you, then sign up for a sourdough workshop for step-by-step guidance to baking your own sourdough bread.
The sourdough class at Bespoke Bread will be sure to open your eyes to the world of sourdough bread baking and help you become a master at making sourdough bread. You can also grab a bunch of supplies, such as sourdough starter kits and baking gear, from Karen the #doughminatrix. Crumb bake with Bespoke Bread today!
0 comments